
Family travel ideas from a French mum living in England.
Discover tried-and-tested family trips in the UK, France, Europe, and beyond — with practical tips from years of travelling with children.
Featured destinations
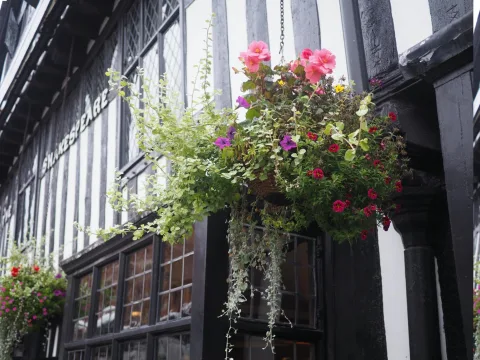
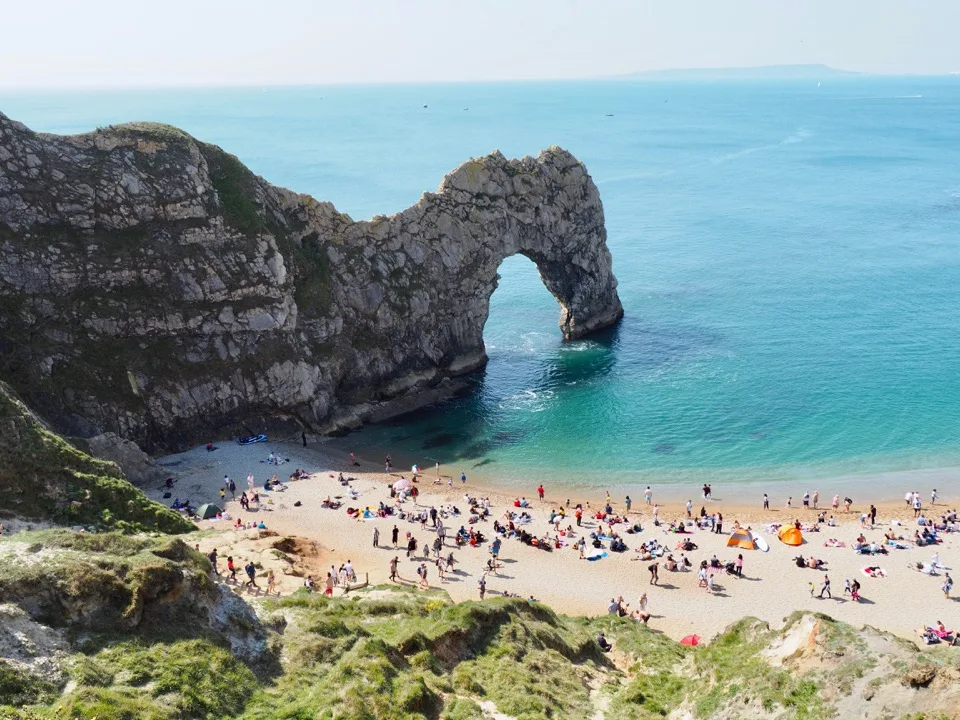 United Kingdom
Family days out, train trips, London ideas and southern England discoveries from our expat life.
United Kingdom
Family days out, train trips, London ideas and southern England discoveries from our expat life.
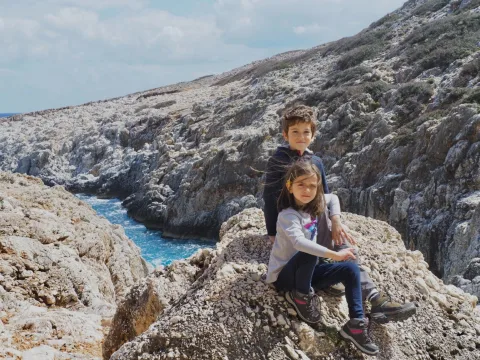
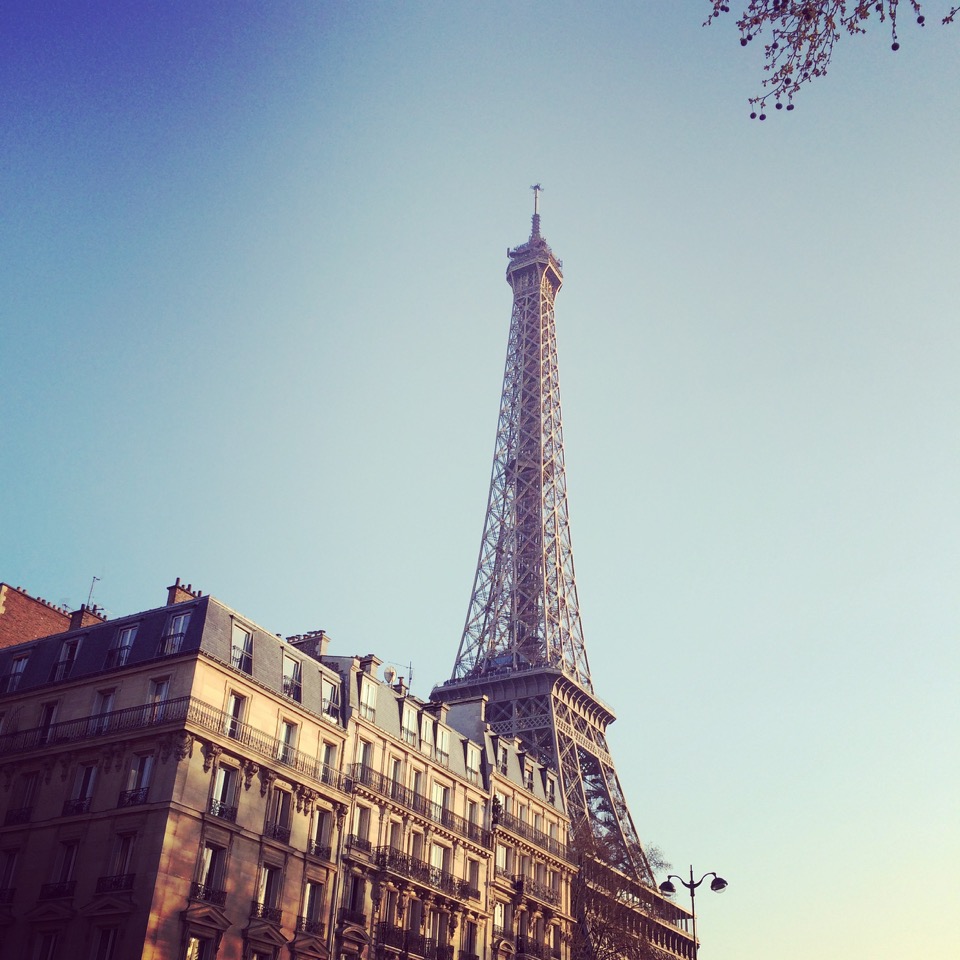 France
French family travel ideas from weekends close to home to longer holiday routes.
France
French family travel ideas from weekends close to home to longer holiday routes.
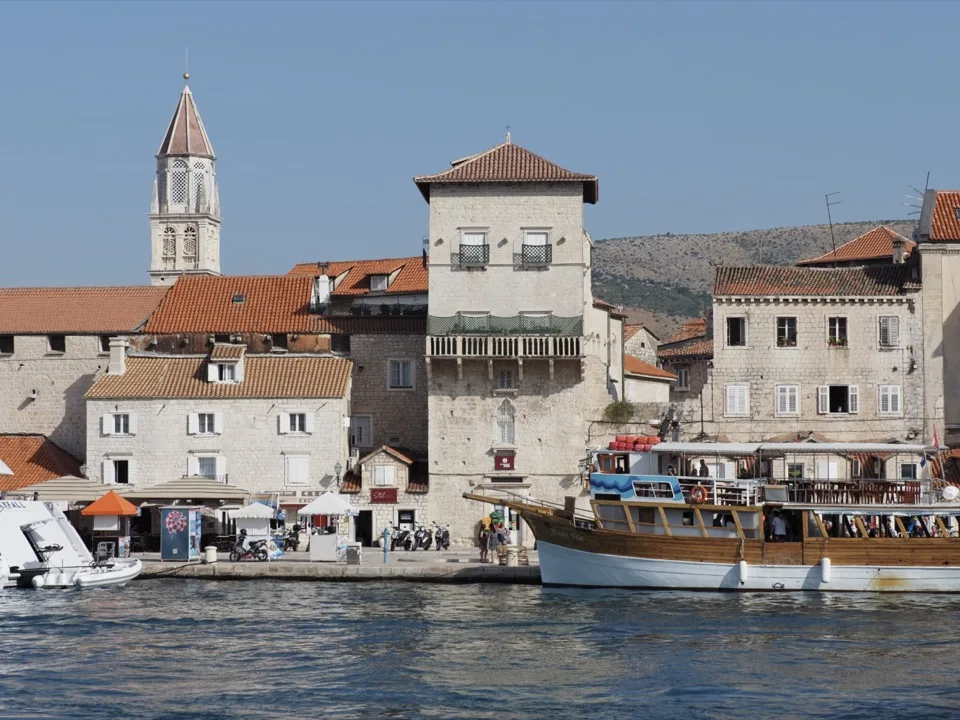
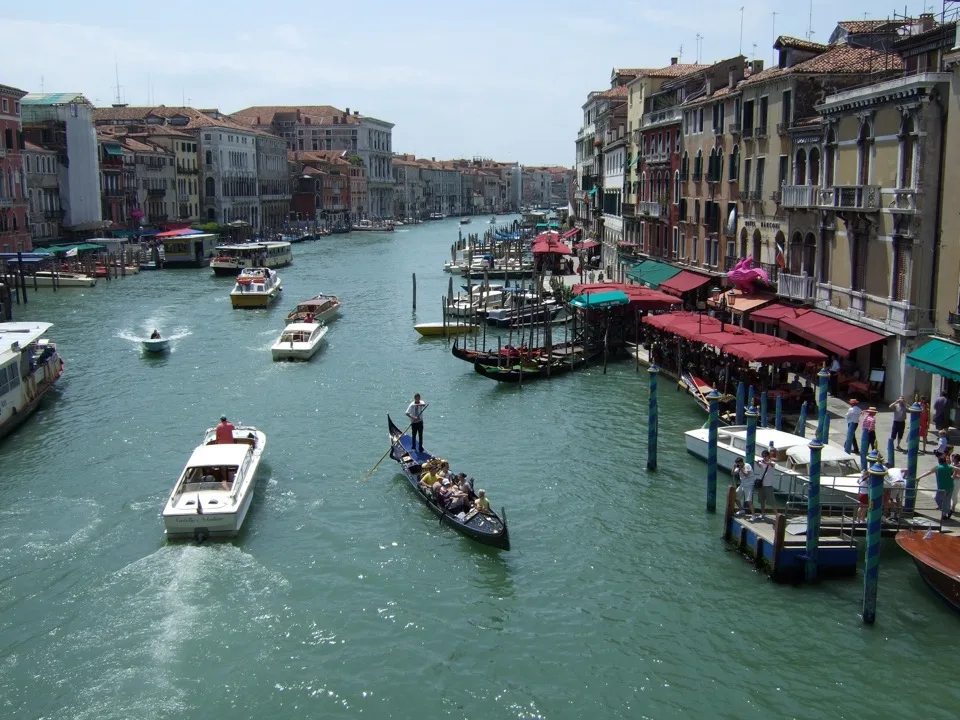 Italy
City breaks, islands, food, hikes and family-friendly road trips.
Italy
City breaks, islands, food, hikes and family-friendly road trips.
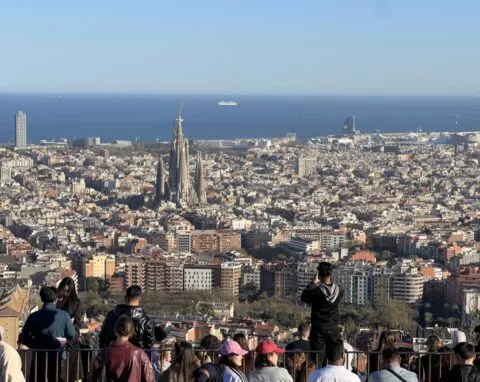
 Spain
Sun, islands, cities and easy family escapes tested with children.
Spain
Sun, islands, cities and easy family escapes tested with children.
Our latest adventures
France
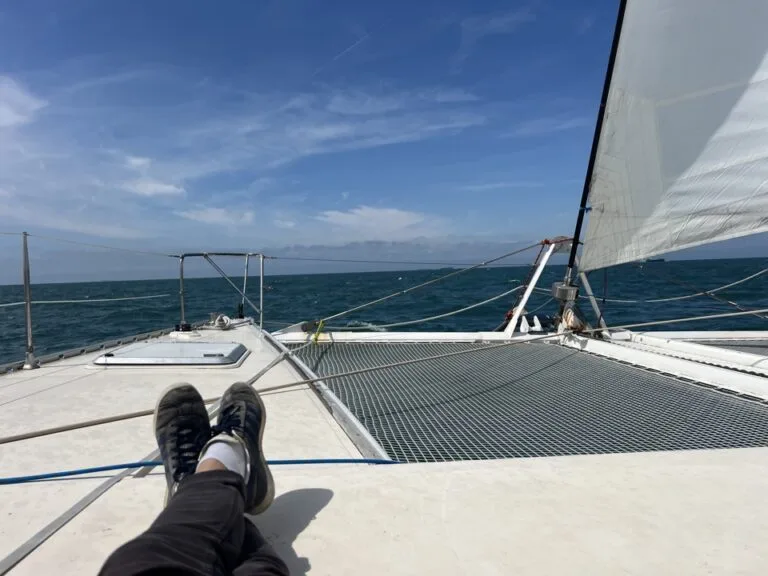
Crossing the Channel by catamaran: our adventure on a sailing ferry!
Our experience with SailLink: crossing the Channel by sailboat, an original and eco-friendly way to travel between England and France

FranceNature & hiking
Cycling the Côte d’Opale in France: from Calais to Boulogne-sur-Mer
Cycling the Opal Coast from Calais to Boulogne-sur-Mer: our 55 km family route on La Vélomaritime, with stops, difficulty, tips and accommodation.
United Kingdom
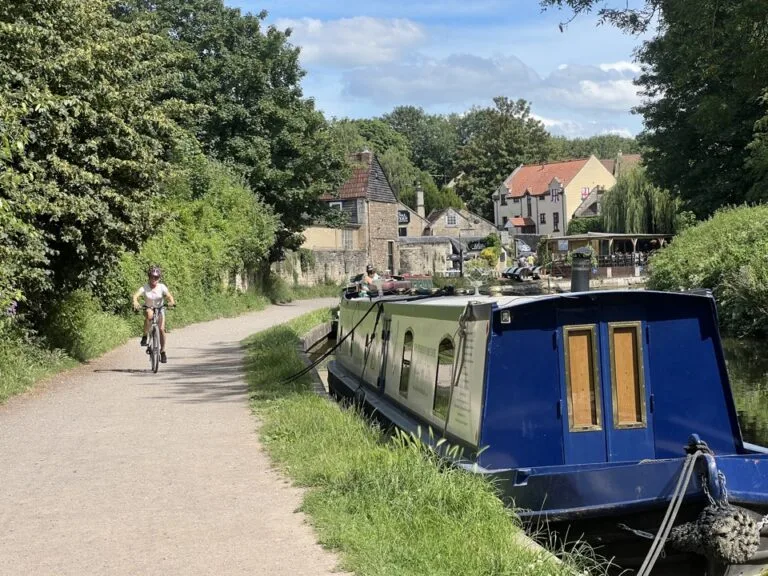
Bath by bike: an easy ride from Bradford-on-Avon along the canal
A favourite in the English countryside around Bath: an original and bucolic bike ride idea for families.
Popular family travel ideas
A seasonal selection of articles readers often come back to.
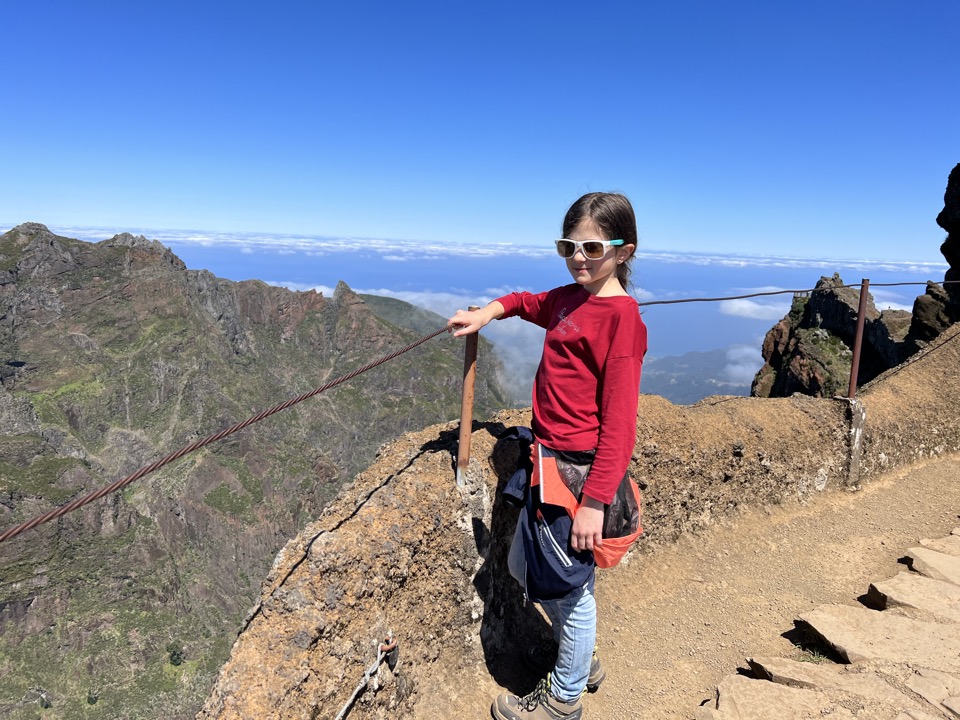
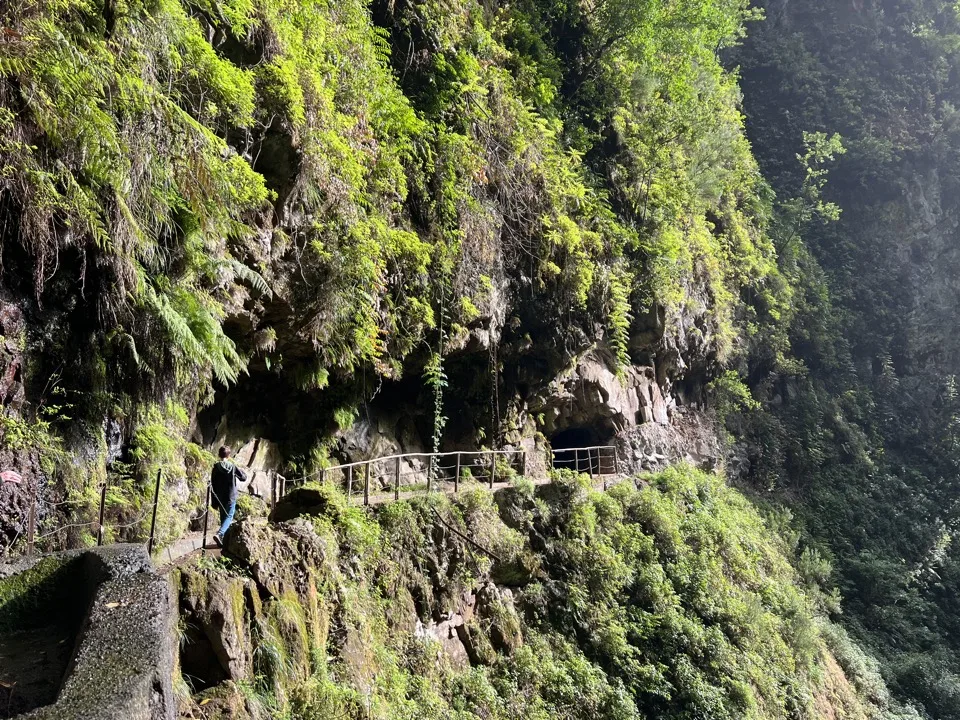
PortugalNature & hiking
12 family hikes in Madeira
All the details for our numerous hikes with the kids in Madeira
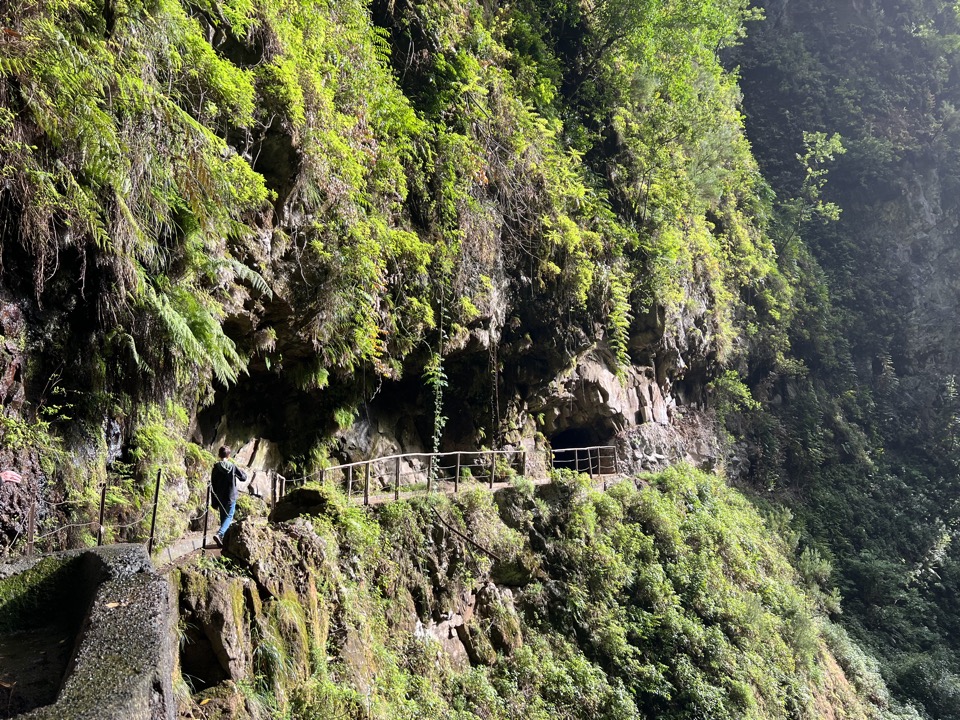
PortugalRoad trip
10 days in Madeira: our practical guide
Madeira with kids: our trip during the Easter holidays
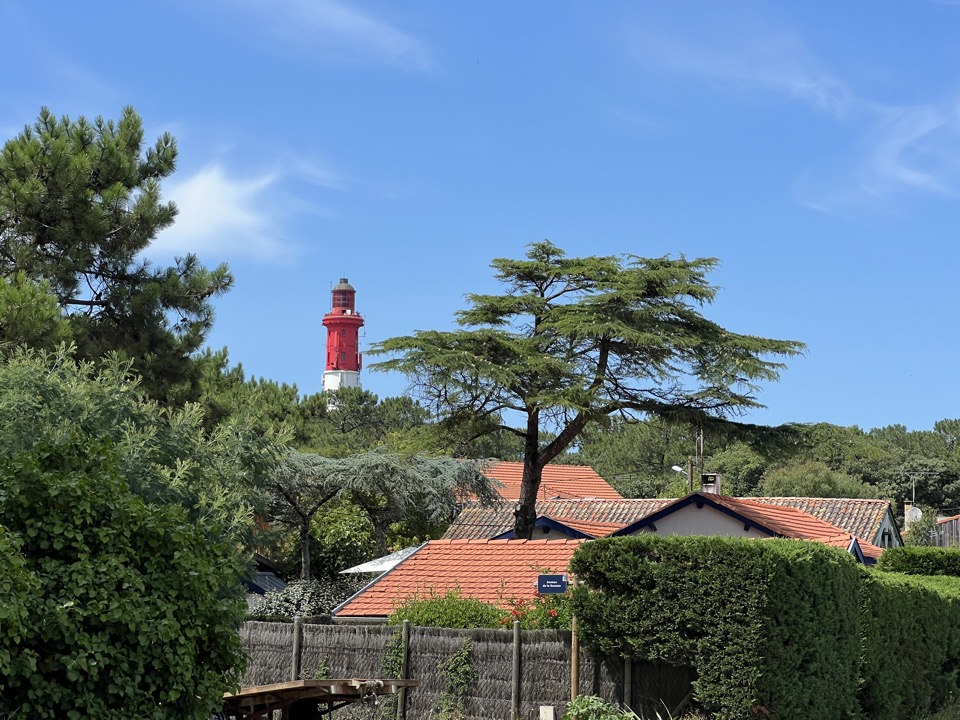
FranceBeach
The Bassin d’Arcachon : 12 things to do as a family
Our "best of" around the Bassin d'Arcachon: discover, hike, beaches and activities with the kids
Nos coups cœur autour du Bassin d'Arcachon : visites, balades, huîtres, plages et activités pour les enfants
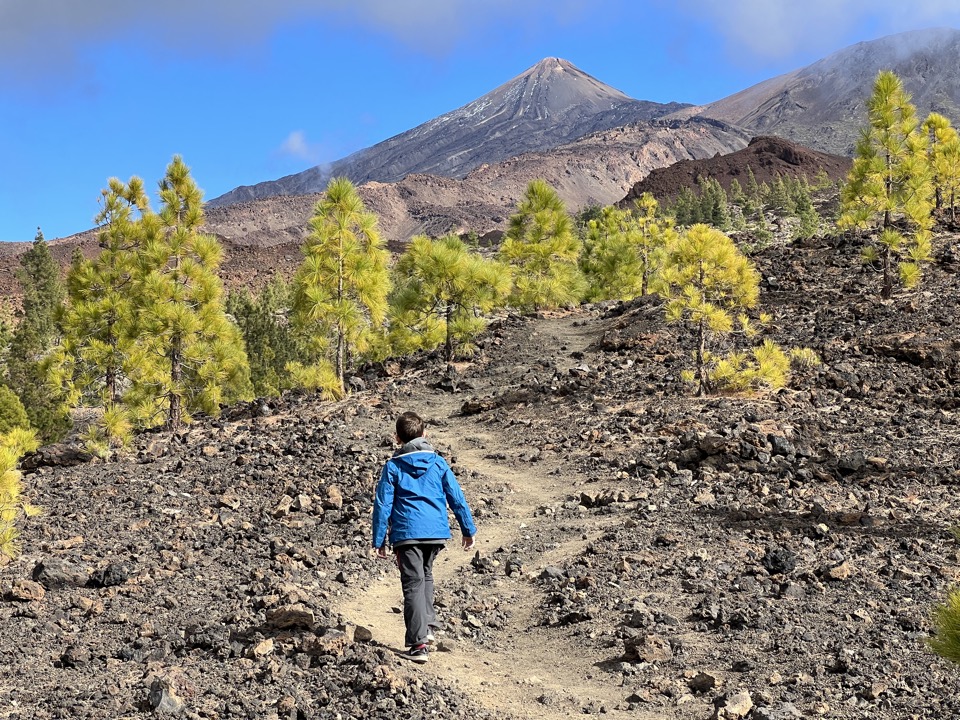
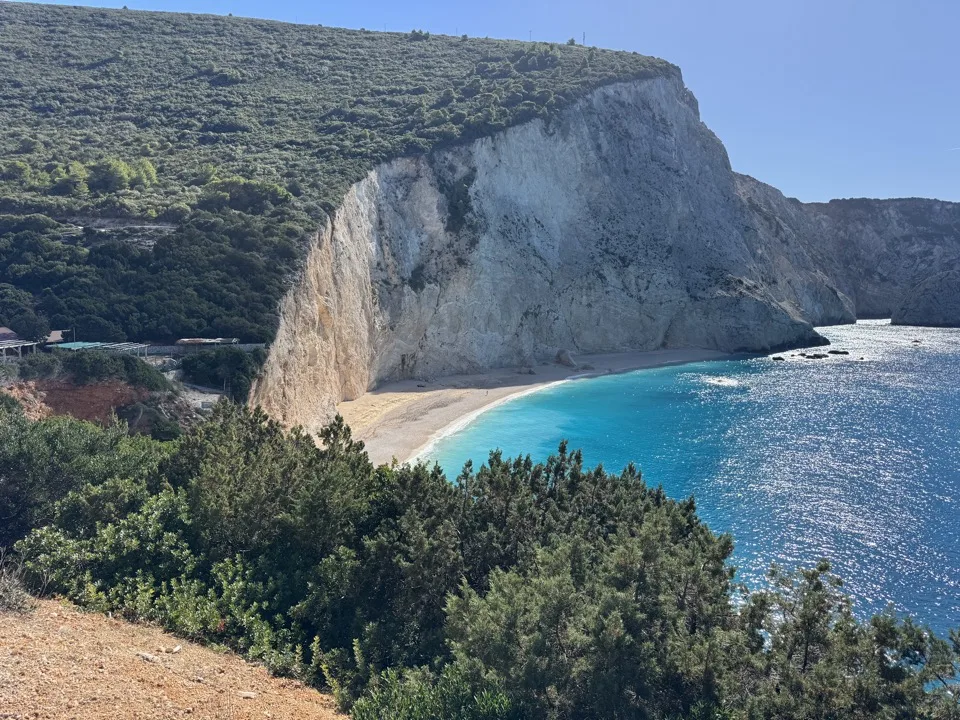
SpainNature & hiking
5 hikes in Tenerife with the kids
Our family hikes in Tenerife in the Teide and Anaga national parks
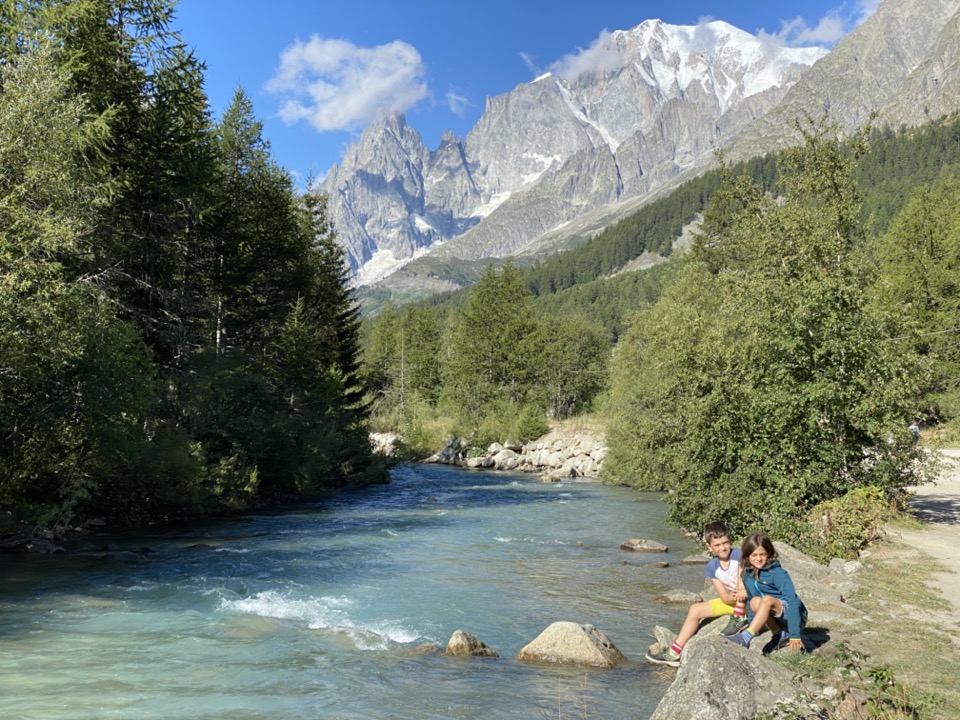
ItalyNature & hiking
5 family hikes in the Aosta Valley
Italy : our week in the Aosta Valley with the kids
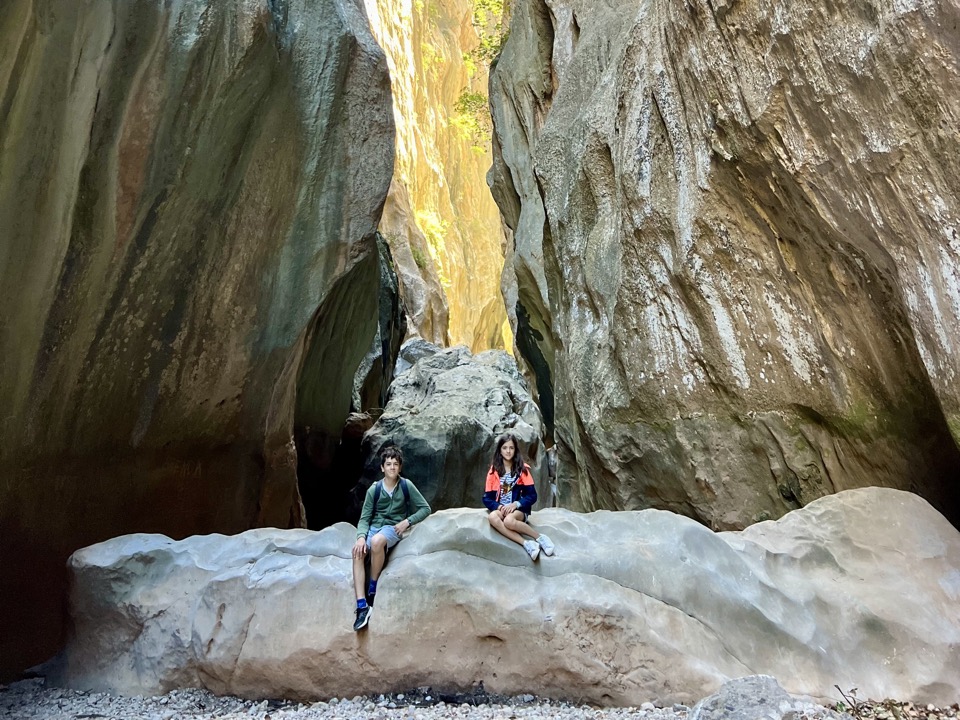
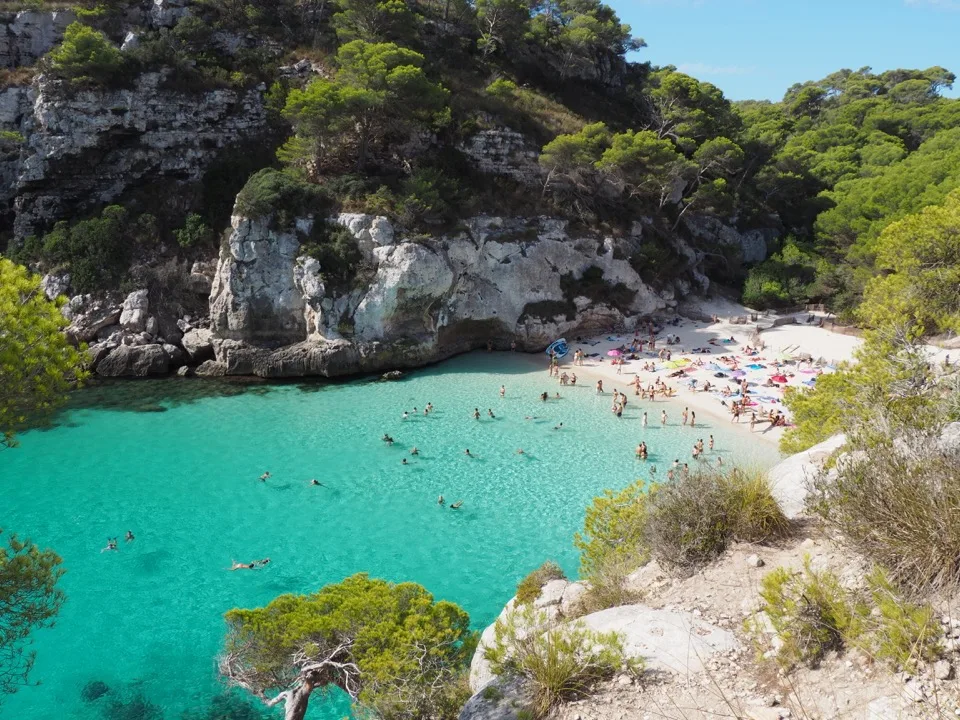
SpainNature & hiking
7 family hikes in Mallorca
Our 7 hikes as a family in Mallorca during the autumn term-break
Who is Maman Voyage?
I'm Christine, mum to Ticoeur and Titpuce. Since 2009, I've been sharing our family trips: weekends close to home, routes across Europe, a round-the-world trip, hikes, and discoveries from our life in England. Every tip published here comes from real experience with my own children.
Learn more about us